As a painting company based in Baltimore, Maryland, we often come across walls covered in old wallpaper. While wallpaper can add texture and interest to a room, it can also become outdated or damaged over time. Removing wallpaper can be a daunting task, but it is essential if you want to create a clean surface for a new coat of paint. In this blog post, we will go over the steps to remove wallpaper and prepare your walls for a fresh coat of paint.
Step 1: Gather Your Tools
Before you start removing wallpaper, you’ll need to gather the necessary tools. You’ll need a wallpaper scorer or perforator, a wallpaper steamer or stripper, a putty knife, a scraper, a bucket, warm water, and a sponge. You can purchase or rent these tools from a local hardware store or home improvement center.
Step 2: Score the Wallpaper
Once you have your tools, you can start preparing the wallpaper for removal. Use a wallpaper scorer or perforator to create small holes in the wallpaper. This will allow the steam or stripper to penetrate the wallpaper and loosen the adhesive. Be sure to follow the manufacturer’s instructions for the scorer or perforator.
Step 3: Apply the Steam or Stripper
Next, apply the steam or stripper to the wallpaper. A wallpaper steamer uses hot water to create steam that loosens the adhesive, while a stripper is a chemical solution that dissolves the adhesive. Follow the manufacturer’s instructions for the steamer or stripper and be sure to wear gloves and protective eyewear.
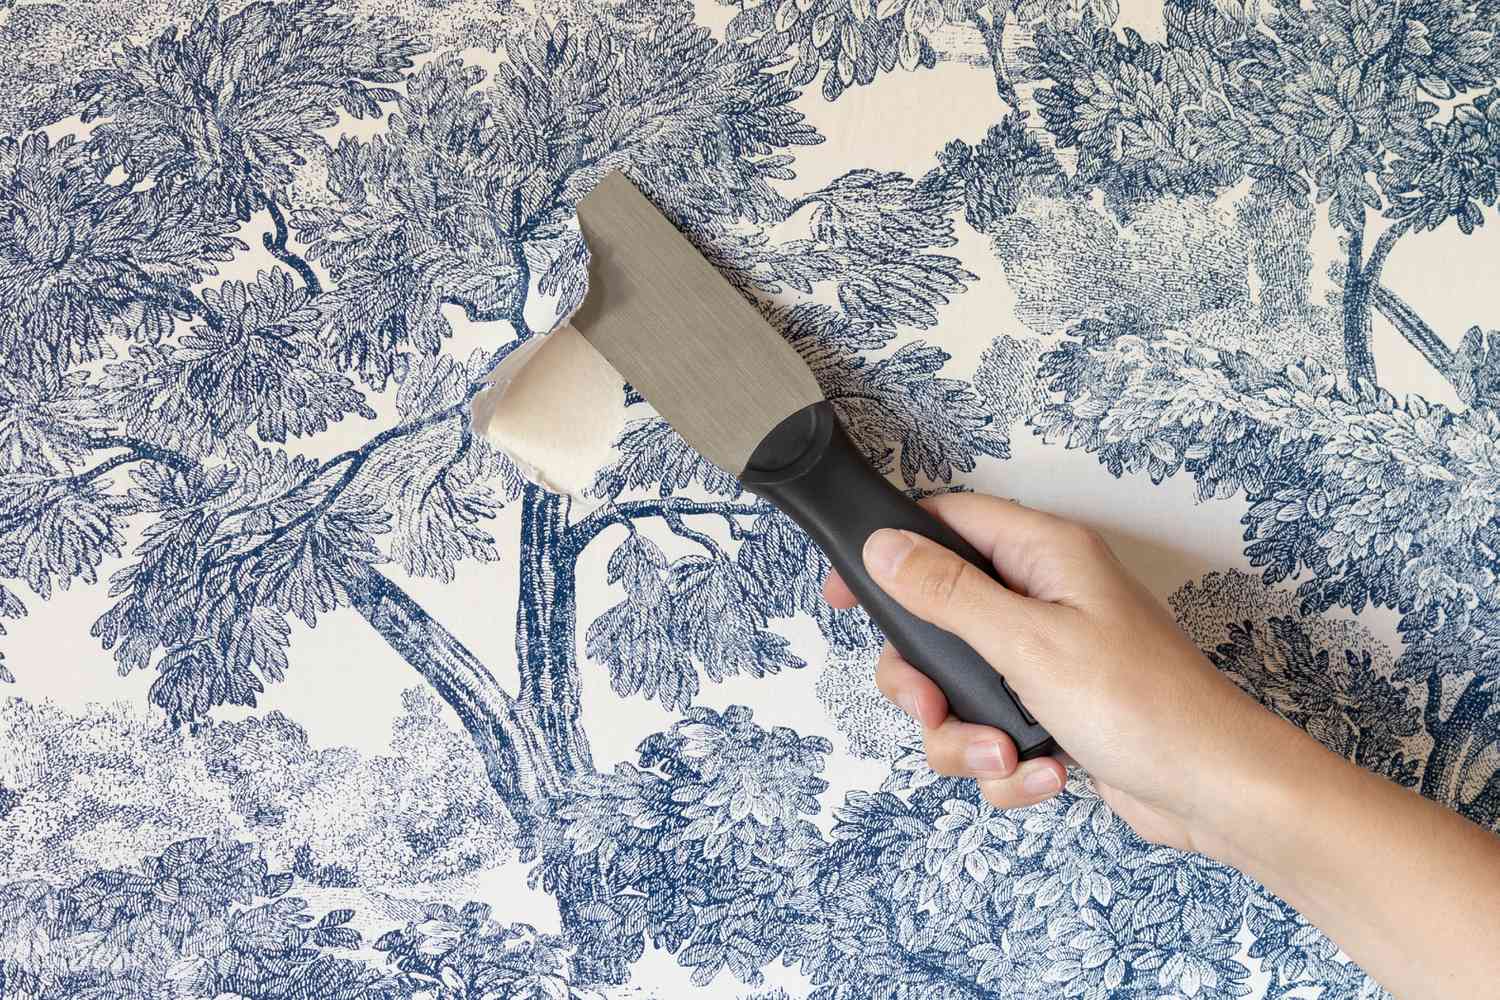
Step 4: Scrape the Wallpaper
After the steam or stripper has had time to penetrate the wallpaper, use a putty knife or scraper to gently lift the wallpaper from the wall. Start at the top of the wall and work your way down, being careful not to damage the wall underneath. If the wallpaper is particularly stubborn, you may need to apply more steam or stripper and wait a bit longer.
Step 5: Remove Any Residual Adhesive
Once you have removed the wallpaper, you may notice that there is still adhesive left on the wall. Use warm water and a sponge to remove any residual adhesive. If the adhesive is particularly stubborn, you may need to use a commercial adhesive remover. Be sure to follow the manufacturer’s instructions and use the product in a well-ventilated area.
Step 6: Prepare the Wall for Painting
After you have removed the wallpaper and any residual adhesive, you’ll need to prepare the wall for painting. Fill any holes or cracks with spackling compound and sand the wall smooth. Wipe the wall down with a damp cloth to remove any dust or debris. Finally, apply a coat of primer to the wall to ensure that the paint adheres properly.
Removing wallpaper can be a time-consuming and messy process, but it’s an essential step if you want to create a smooth surface for painting. If you don’t feel comfortable tackling this project yourself, contact Paint Perfection. Our team of experienced painters can remove your wallpaper and prepare your walls for a fresh coat of paint. Contact us today to schedule your free consultation.